Follow our comprehensive 12-step tutorial to construct a durable, custom robotic arm using Actobotics parts, perfect for various industrial applications.
Introduction
In the rapidly evolving field of robotics, creating a versatile and heavy-duty robotic arm can significantly enhance productivity and efficiency across various industries. This guide focuses on Actobotics robotic projects, providing a detailed step-by-step approach to building a custom robotic arm using Actobotics components. Whether you’re a hobbyist or a professional seeking to integrate advanced automation into your operations, this tutorial will equip you with the knowledge and tools needed to embark on your own Actobotics robotic projects.
Materials Required
Before diving into the construction process, it’s essential to gather all necessary components. Here’s a comprehensive list of materials you’ll need for this Actobotics robotic project:
- Base Components:
- Servocity DDP155 Pan Base
- Hitec HS-5485HB Digital Servo (180° rotation)
- Actobotics Aluminum Channels
- ServoBlocks with Hub Shaft
-
Hitec HS-311 Standard Servos
-
Arm Components:
- Actobotics Aluminum Channels
-
Round Plates (repurposed from old hard disks)
-
Gripper Components:
- Actobotics Standard Gripper Kit A
-
Hitec HS-311 Standard Servo
-
Electronic Components:
- Arduino Yun
- Breadboard
- Jumper Wires (Male-to-Male)
-
Servo Extensions
-
Tools:
- Star Screwdriver
- Hex Key
- Zinc Plated Socket Head Machine Screws
- 6-32 Phillips Head Screws
Step-by-Step Construction
Building a heavy-duty custom robotic arm with Actobotics parts involves meticulous assembly and careful planning. Follow these 12 steps to ensure a successful Actobotics robotic project:
Step 1: Building the Base
Start by assembling the Servocity DDP155 Pan Base as per the manufacturer’s instructions. Attach the Hitec HS-5485HB digital servo to the base to enable 180° rotation. Incorporate the Actobotics Aluminum Channels to provide structural support.
Step 2: Constructing the Arm Channels
Attach the 90-degree dual side mount E hub mounts to the ends of the aluminum channels. Secure these channels to the base’s round plate using appropriate screws, ensuring flexibility for arm movement.
Step 3: Assembling the Servoblocks
Servoblocks enhance the mechanical load-bearing capacity of the servos. Follow the kit instructions to build the Servoblocks, which will serve as the exoskeleton for your servos, providing additional strength and durability.
Step 4: Integrating the Servoblocks with Base Channels
Mount the Servoblocks onto the base channels using zinc-plated socket head machine screws. This integration forms the main structure of the robotic arm, allowing for smooth and precise movements.
Step 5: Adding Weight for Balance
Proper balance is crucial for the stability of your robotic arm. Add weight to the back using plates from old hard disks, securing them with 90-degree quad hub mounts. This ensures the arm remains steady during operation.
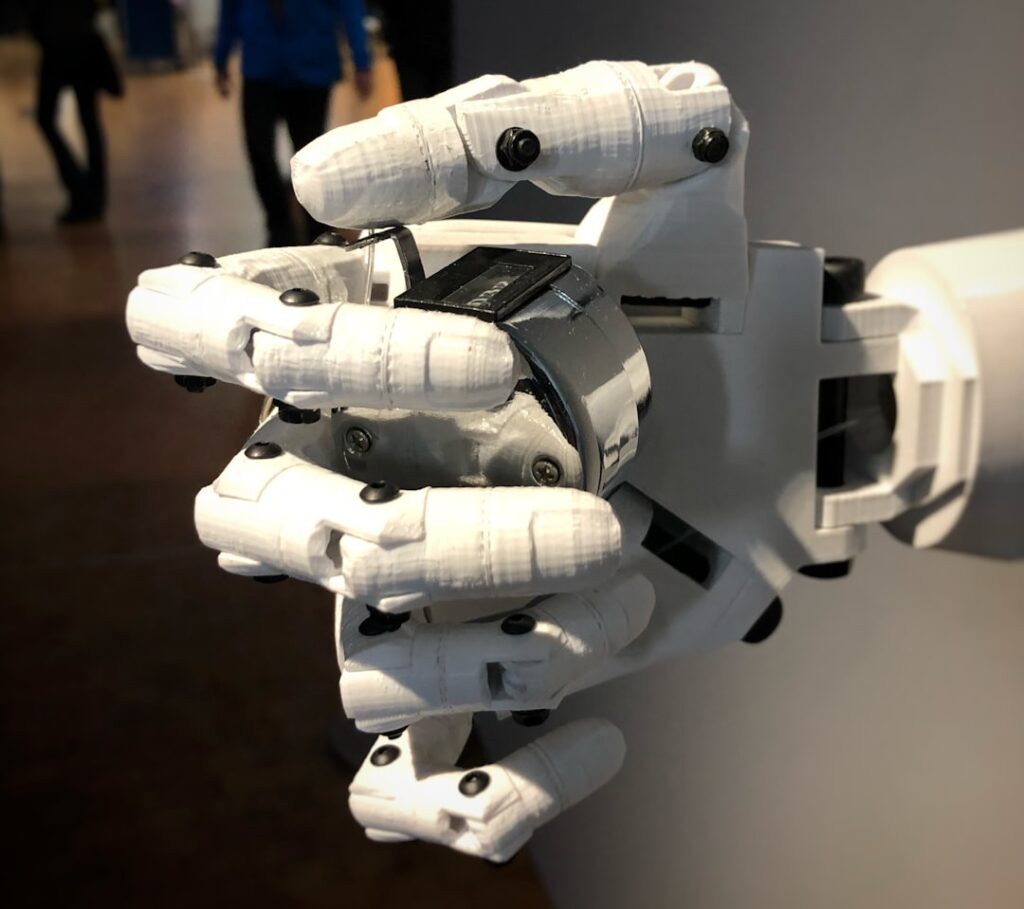
Step 6: Building the Gripper
Assemble the Actobotics Standard Gripper Kit A following the provided instructions. Attach the Hitec HS-311 servo to the gripper to enable opening and closing actions, essential for handling objects.
Step 7: Connecting the Gripper to the Arm
Secure the gripper to the main body of the arm using machine screws and hub mounts. Ensure that the gripper is firmly attached and aligned for optimal performance during automated tasks.
Step 8: Managing Cables and Extensions
Organize the servo cables to prevent entanglement and ensure safety. Use Actobotics mounts to create cable holders and extend the servo connections using jumper wires. Color-code the cables (Black for GND, Red for POWER, Yellow for SIGNAL) for easy identification.
Step 9: Setting Up the Arduino Yun
The Arduino Yun serves as the brain of your robotic arm. Connect the servo signal cables to the designated digital pins on the Yun. Ensure all power and ground connections are properly established using the breadboard.
Step 10: Programming the Arduino
Upload the provided Arduino sketch to control the servo movements. The code defines servo names, assigns digital pins, and incorporates delays to coordinate arm and gripper actions. Customize the code as needed to suit your specific Actobotics robotic project requirements.
Step 11: Testing and Calibration
Once assembled, perform thorough testing to ensure all components function as intended. Calibrate the arm movements and gripper actions to achieve precise control and responsiveness, tailored to your automation needs.
Step 12: Final Adjustments and Deployment
Make any necessary adjustments to the arm’s balance and cable management. Conduct final tests to confirm the robotic arm operates smoothly and efficiently. Deploy your custom robotic arm in your desired environment, whether it’s for industrial applications, gardening, or daily tasks.
Tips and Best Practices
-
Documentation: Keep detailed notes of your assembly process, including screw sizes and component placements. This will simplify troubleshooting and future modifications.
-
Screw Variety: Utilize a variety of screw types and sizes to accommodate different assembly stages. Having a diverse screw collection on hand can save time and frustration.
-
Balance is Key: Ensuring the arm is well-balanced prevents strain on servos and enhances the longevity of your Actobotics robotic projects.
-
Extensive Testing: Regularly test both hardware and software components to identify and rectify issues early in the development process.
-
Advanced Controls: Consider integrating joysticks or additional sensors to enable live control and enhanced functionality of your robotic arm.
-
Upgrading Servos: For projects requiring the lifting of heavier objects, opt for servos with higher torque capabilities to handle increased loads effectively.
Conclusion
Embarking on an Actobotics robotic project to build a heavy-duty custom robotic arm is a rewarding endeavor that combines precision engineering with practical automation. By following this comprehensive 12-step guide, you can create a versatile and durable robotic arm tailored to your specific needs. Whether enhancing industrial processes or simplifying daily tasks, a well-crafted robotic arm stands to revolutionize the way you work and interact with technology.
Ready to take your automation to the next level? Visit Verne Robotics to explore our advanced AI-powered robotic solutions and transform your operational efficiency today!
Share
Related posts